how to setup my voicemail on iphone 8 plus
To set up voicemail on your iPhone 12, you must make sure to check carrier supports Visual Voicemail. If it does, follow the steps below:
Are you struggling to come up with a voicemail greeting that you believe in? Do you find that everything you record comes out too casual, overly professional, or doesn’t seem to touch all of the bases that you want it to?
.
how to setup my voicemail in my iphone 11
Step 4. Begin recording your custom voicemail message by tapping “Record.” You can also listen to your recording by tapping “stop” and “play” before proceeding to the next step.
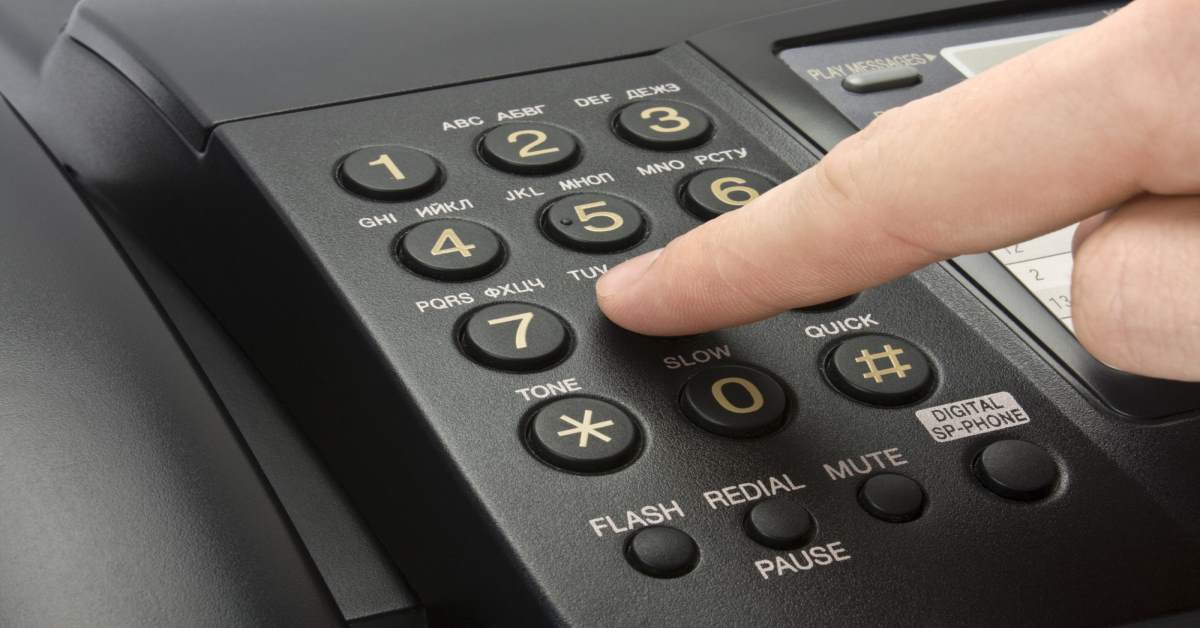
When it comes to making phone calls, nothing can leave one more in the dark than leaving a message on a voice mailbox that hasn’t been set up yet. However, if you happen to be in the dark in regards to setting up your voicemail, we’re going to walk you through the process to avoid confusion on your end. With this being said, here’s a look at how to set up your iPhone voicemail.
how to set up my voicemail on samsung
It seems foolish to buy more hardware to record from the iPhone—the most advanced hardware in your pocket, if not your entire home. But the option exists.
Voicemail is system that allows you leave voice messages and receive these voice messages. In this article you will five ways to set up Voicemail on your iPhone. It is not a surprise to find an iPhone user, who does not know where to get this Voicemail system on iPhone. So where do you find Voicemail on your iPhone? It is so easy. On the home screen of your iPhone, click on “Phone” app. You will then see the Voicemail icon on the bottom left. To create passwords and customized greetings you will have to tap on. You can also retrieve your messages with ease once you do a setup on your phone. Now lets us look at 5 ways to setup voicemail on iPhone 7, SE, 6s, 6, 5s, 5c, 5, 4s, 4 and 3GS. Part 1: Guide for AT&T iPhone Voicemail Setup Part 2: Guide for Verizon iPhone Voicemail Setup Part 3: Guide for T-Mobile iPhone Voicemail Setup Part 4: Guide for Vodafone iPhone Voicemail Setup Part 5: Guide for Sprint iPhone Voicemail Setup Part 6: Best Tool to Recover Lost Voicemails from iPhone AT&T mobile data plans allows you to setup voicemails on your iPhone with ease. However, you cannot do this connection when you are connected to Wi-Fi. Here is well-explained guide on how to enable the voicemail on iPhone. Step 5. Confirm the password by re-entering the password and then tap on “Done”. Step 6. Create a greeting message. You can set a default AT&T greeting message. On the other hand you can record a greeting message. After that click on “Done”. Verizon network understands the importance of your voicemail messages and allows you to setup voicemail on iPhone with ease. Below are baby steps on how to setup voicemail on your iPhone. Step 2. On the bottom right click on “Voicemail” button. At this point you can be connected to Voicemail system directly via a call, which will then prompt to create a greeting message. If not you need to step up by going to step 3. Step 4. Provide a password. Enter a 4- 6 digit long password and tap on “Done”. Step 6. Next you need to create a message greeting. Click on “Custom” to record your message. Alternatively you can opt for Verizon “Default” greeting if you wish. Record your customized greeting and Save the settings. Your Verizon Voicemail is now activated. You have successfully set up voicemail on iPhone. On T-Mobile carrier, it is also possible to setup voicemail on your precious phone. It only takes steps to setup voicemail on T-Mobile. Below are simplified steps for you to follow. Step 3. Next tap “Set Up Now" and then enter a 4-10 digit password and tap on “Done”. Step 5. Next create a greeting message. You can set a T-Mobile Default setting or you can also record a greeting message by tapping on “Custom”. Thereafter, click on “Done”. Step 6. Record your T-Mobile greeting Message and click “Save”. Bravo your Voicemail is now enabled. UK’s Vodafone network also allows you to receive and send voicemail messages on your iPhone. First, you need to do a set up and below are simple steps that lead to Voicemail activation. Step 2. Listen to the instructions and create a security password of 4-10 digits. It does not accept sequential numbers or repeated numbers. So you need to be creative. Step 5. That is all. If you want to do more customization you can stay connected to do so. For iPhone users connected to Sprint, follow these steps to setup voicemail on iPhone. Step 4. Create a password of about 4-10digits long and the tap on “Done”. For new users, it is recommended that you use the last 7 digits of your phone number. Step 6. Next create a personal greeting. There is a Sprint Default greeting or you can tap custom to personalize your greetings. After that click on “Save”. Congrats, you have now setup Sprint Voicemail and you will start receiving voice messages. Part 6: Easily Recover Deleted Voicemail from iPhone (iPhone X and iPhone 8 Suppported) Once you have setup voicemails on your iPhone, you will begin to receive Voice Messages on your iPhone. These messages are important and it is good for keeps. In some cases your phone may crash and you end up losing these vital messages. You could also format your phone or upgrade it and you will misplace this read and unread Voice messages and also Voice calls. If any of this befalls you, you need to look for iPhone data recovery software. One of the comprehensive softwares is dr.fone - iOS Data Recovery. This software supports different data loss cases and recovers over 20 data types including Voicemails, Voice Memos and much more. It is also software that works with most iOS (including iOS 11) devices. It restores lost data when your phone crashes, system crash, jailbreak failure, upgrade failure, virus attack and reset formatting. It has three modes of data recovery, which are; Direct recover from iOS, Recover from iTunes and Recover from iCloud. It allows you to preview recovered files before selectively recovering them. It recovers many data types like Calendar, call history, Camera Roll, Contacts, Reminder, Voice Memo, Voicemail, App Video, App Photos, App Documents videos, Photo stream, Safari Bookmark, Facebook Messenger, Notes, Messages, etc. It supports any of iOS (iOS 12 supported) device, including iPhone XS/XR/X/8 (Plus)/7 (Plus)/SE/6s (Plus)/6(Plus)/5S/5C/5, iPad and iPod touch. Step 3. Preview the data, choose to recover data to a computer or restore to the device. From the post above, you'll find it quite easy to get voicemail on your iPhone. To some degree, due to the fact that you think setupping voicemial is essential for you, thus reading this guide. Therefore, I do hope that you well save the important messages. If something goes wrong, like losing them by accident, don't panic! dr.fone will come to rescure and perfectly get them back. How to Set up Voicemail on iPhone 12 Pro, 12Pro Max, 12Mini,11 Pro, Pro Max, Max, X/ 8 Plus/ 7 Plus/ 6S Plus/ SE/ 5S