Check your voicemail on iPhone. In the Phone app , Visual Voicemail (available from select carriers) shows a list of your messages. You can choose which ones to play and delete without listening to all of them. A badge on the Voicemail icon indicates the number of unheard messages.
how to setup your voicemail on your iphone
My voicemail doesn’t tell me the number, date or time the caller made the call. Can it be set up to do these things?
Before moving on to learning about voicemail message templates, let’s learn some tips to effectively take phone messages. Tips for Taking Phone Messages Effectively . Creating a phone message template is the first step in starting a good phone communication procedure – but …
.
how to setup voicemail with att
Personally, I think Samsung has one of the best ways of dealing with your voicemail. In addition to offering a quick and easy way of acessing your voicemail, Visual Voicemail will let you jump right into the message you want to listen without having to listen to each message until you get there.
1. Power up your phone and open the Phone app. Press and hold the power button for your phone to turn it on. Then, once you unlock your main screen, tap the Phone app to launch it.
how do i setup my voicemail android
All of the fixes listed here have worked for some iPhone users, so they are tried and true solutions even if there’s no guarantee of which one will actually work for you.
With OpenPhone you can record your own voicemail greetings directly in the app, upload your own voice clips or simply type your voicemail script.
how do i setup my voicemail on my at&t digital answering system
I hope one of these solutions was able to solve your problems. Have any questions? Let us know in the comments. How to Delete All Voicemail Messages on iPhoneBest iPhone Apps for Second Phone Number“No SIM” Card or Invalid SIM Issue on iPhone? Try Out These FixesNo Service on iPhone? Try these 10 fixes!
google how do i setup my voicemail box
how to set up voicemail on the iphone 11
how to setup your voicemail on straight talk
how to setup a voicemail virgin mobile
how to set up voicemail for samsung s20
how to set up a voicemail message on samsung
how to set up voicemail message on teams
how to set up voicemail for samsung phone
how do i set up my voicemail iphone 7
how do i setup my voicemail with straight talk
how to set up voicemail message on teams
how to set up voicemail in iphone 6s
how to set up voicemail on iphone xr
In the T-Mobile Visual Voicemail app, for example, tap the three-dot menu at the top right and then choose “Settings.” In the Greetings & Pin section, you can tap the default greeting and record a new one. AT&T Visual Voicemail Sprint Visual Voicemail T-Mobile Visual Voicemail How to listen voicemail messages on your Samsung Galaxy S21
how to set up voicemail on iphone 6 t mobile
Learn information given below, find out the easiest ways of how to set up voicemail on Samsung phone and to verify msg.
Stay up to date on the latest phones, plans, and deals with our once-a-week digest.
While discovering the function may be a little tricky on your own, have no fear because setting up voicemail is actually fairly easy. Just follow the instructions below and you’ll be able to easily memorize the steps if it ever becomes necessary in the future again.
how do i setup my voicemail password
1. "Hi, you've reached [your name] at [your company]. I'm unavailable right now — probably helping [type of company] get [X results, e.g. ‘double their leads in 60 days,' ‘hire the best and brightest engineers,' ‘convert 40% more customers.'] Leave your name and number, and we'll discuss how your company can see similar results."
Hi! John’s answering machine is broken. This is his refrigerator. Please speak very slowly, and I’ll stick your message to myself with one of these magnets.
Cell Phone Greetings make personal voice mail greetings easier to get from the professionals. Cell Phone Greeting.net will install your professional voice mail messages from our professional voice talent. Phone greetings are the professional way to promote your business.
Website: https://www.amazingvoice.com/blog/10-best-professional-voicemail-greetings
Another alternative for Android users who don’t have the option for ‘Route to Voicemail’ in their settings can use the Do Not Disturb function. Although this prevents anyone from calling, you can add exceptions.
how to set up voicemail iphone cricket
Step 2: Click the 3-dot menu button that you can see on the top-right corner of the screen (on the right side of the search button).
1. Android 6.0 and above includes a OMTP VVM client, which (when provided with the correctconfiguration) will connect to Carrier VVM servers and populate visualvoicemail messages within the Android Open Source Project (AOSP) Dialer. The VVM client: 1. Handles the SMS messages used to activate/deactivate/query status of theservice and the SMS messages used to notify the device of events in thesubscriber's mailbox 2. Syncs the mailbox with the IMAP server 3. Downloads the voicemails when the user chooses to listen to them 4. Fetches voicemail transcriptions 5. Fetches details of voicemail quota (total mailbox size and occupied size) 6. Integrates into the Dialer for user functionality such as calling back, viewingunread messages, deleting messages, etc.
OK, so I followed all the instructions that came with the machine. I pressed all the necessary buttons. So… now what? I… am… so… confused. Could you please… beep.
Be Part Of Our Story!
how do you set up voicemail on iphone xr
Setting up voicemail on your iPhone can be a confusing business. There's no voicemail app on your iPhone that provides quick access to the main voicemail options, so you'll need to check with your individual mobile network provider to see what voicemail options are available and how much they cost. However, there are a number of key features that you need to know about when using voicemail. Read next: How to stop iPhone calls going straight to voicemail
how to set your voicemail on iphone x
Just NowSet up Visual Voicemail. If your carrier supports Visual Voicemail, you can set it up with these steps: Go to the Phone app, then tap the Voicemail tab. Tap Set Up Now. Create a voicemail password, then tap Done. Enter your password again to confirm it, then tap Done. Select Custom or Default. If you choose Custom, you can record a new greeting.
how to set up voicemail on iphone se verizon
1. Find the voicemail recording on your phone 2. Tap and hold the message you want to save. 3. Tap the one that says “save”, “export” or “archive” 4. Pick a storage location on your phone and click “OK” or “Save” 5. Go to the Rev Transcription page …
Contact Us
In the T-Mobile Visual Voicemail app, for example, tap the three-dot menu at the top right and then choose “Settings.” In the Greetings & Pin section, you can tap the default greeting and record a new one. AT&T Visual Voicemail Sprint Visual Voicemail T-Mobile Visual Voicemail How to listen voicemail messages on your Samsung Galaxy S21
how to setup voicemail for iphone
Keep it short and sweet so that the caller can quickly leave their message and move on with their day.
In recent years, life has become so interconnected that we sometimes wish we could take some time off and not be obligated to check our phones every minute of the day.
Samsung Galaxy S9 Troubleshooting: Fixing the “Internet May Not Be Available” Error MobileYouth.org creates totally honest, unique reviews as a proud Amazon Services LLC Associates Program participant. Though our content is unbiased, we may earn a small percentage of sales made by using the Amazon product links provided on our site. Cons as well as pros are always included when applicable for each of our reviews to offer a comprehensive look at each and every product. How to change Voice Mail (VM) greeting on Samsung OfficeServ (Samsung OS) system
Have you ever recorded something similar? Tell us what your favorite greeting was of the voicemail message examples in the comments section below! aliexpress bikini haul on May 11, 2018 at 8:12 am 918kiss online banking on May 31, 2018 at 9:45 am you made blogging look easy. The overall look of your site is fantastic, let alone the content! old one! Ιt’s on a totally diffeгent topic but it hɑs pretty much the ѕame page layout and design. best coursework writing services on June 12, 2018 at 8:26 pm
Don’t rush. It’s important to speak slowly and clearly when leaving your next voicemail greeting. Have you ever called someone and the message sounds like one big word? Don’t be that guy. Pronounce your words and take pauses between your sentences
Most phones don’t make that as easy as it ought to be. Apple’s iPhone will back up voicemails to your computer along with everything else, but they’re stored in a funky file format that’s not easily played by most software. Most Android phones, meanwhile, store your voicemails on off-site servers.
!
why can't i set up voicemail on my iphone 11
how do i setup my voicemail on my lg phone
how to set up voicemail on an iphone x
how do i setup my voicemail on my phone
In sales, immediate communication with your prospects and current customers is important. Being available to answer questions or further negotiate a deal allows your clients to feel secure and more apt to purchase from you. But what if you can’t answer the phone when they call? Make sure you have a voicemail system set up so your clients have the opportunity to leave you a message.
To set up voice mail, tap the Phone icon, tap the Voicemail icon and then "Greeting.". There are two options available: Default and Custom. If voice mail hasn't been set up previously on your phone, Default is selected, which means people will hear your wireless carrier's generic voice mail greeting when they call you.
Pricing Features All Features Mobile App Call Menu Options Local & Toll-Free Business Numbers Business Call Routing Client Notes CRM Port My Business Number What is a Virtual Phone System? What is a Virtual Phone Number? Reviews About Us Blog FAQ Log In What is a Professional Voicemail Greeting? Why is Having a Great Business Voicemail Greeting Important? How to Create Your Own Professional Business Voicemail Greeting Record Your Own Text-To Speech Technology Hire Professional Voice-Over Talent Top 13 Professional Voicemail Greetings – Examples, Scripts, Samples, Audio Recordings Company Voicemail Greetings Department Voicemail Greetings Personal Business Voicemail Greetings Small Business Resources for Business & Personal Growth
I am not in the office today; I may not be in tomorrow. I may be in to work sooner, if you gave me your car to borrow.
YAY! Finally! This worked! Thanks SO much, as I’ve been dealing with this for over a year.
Setting up voicemail on an iPhone is pretty easy. These steps are specifically for iOS 14 and above, but they should be nearly identical for people who are still using older operating systems like iOS 12 or iOS 13.
how to setup your voicemail on android
how to setup voicemail on iphone xs
how to set up voicemail on iphone 11 pro ee
how to set up voicemail on iphone se t mobile
Hello! You’ve reached [Natasha on the Product Development Team at LinkedPhone]. I’m not available at the moment but your call is important to me. Please leave your name, number, and the reason for your call and I’ll call you back as soon as possible. Thank you and have a great day!
how to set up voicemail on samsung phone
5. “Hi, you’ve reached [company name]. We can’t take your call right now but we will call you back as soon as we’re available. Please leave your name, number and reason for your call. We know your time is precious, so to skip the back and forth, kindly leave a few different times of day that work best with your schedule and we will do our best to reach you then! Have a great day.” This greeting lets your caller know that not only your time is precious, but you realize theirs is as well.
How to record or change your Android voicemail greeting in 10 simple steps 1. Turn on your phone and launch the Phone app. Turn the power on for your phone. Then, tap the Phone app. 2. Open the dial pad. Tap the dial pad icon near the bottom of the screen to bring up your phone's dial pad. 3. Call your voicemail.
2. Access the dial pad. You'll need to bring up the Phone app's dial pad, as if you were going to call an actual person. To do this, tap the dial pad icon near the bottom of the screen.
In the case that your business is closed due to an emergency, it's only worth it to go into detail if the problem is affecting everyone in the area. Otherwise, stick to your Company Wide Voicemail Greeting, but remove the stated hours and tell callers that you're currently closed. Thank you for calling Cutlass Technology. Our store is currently closed. Please leave your name and phone number so that someone from our team can follow up with you. For more information, please visit www.cutlasstechnology.com
In the T-Mobile Visual Voicemail app, for example, tap the three-dot menu at the top right and then choose “Settings.” In the Greetings & Pin section, you can tap the default greeting and record a new one. AT&T Visual Voicemail Sprint Visual Voicemail T-Mobile Visual Voicemail How to listen voicemail messages on your Samsung Galaxy S21
how do i setup my voicemail on my samsung phone
set up voicemail iphone error
how to set up voicemail message on samsung galaxy a20e
how do i setup my voicemail box on this phone
8 hours agoVisual voicemail is an easy way to check your missed messages. You can see a list of voicemails along with the date it occurred and the length, and …
Website: https://appgrooves.com/android/com.metropcs.service.vvm/visual-voicemail-by-metropcs/metro-by-t-mobile
On Android, you have a couple of different options. If you don’t want to use Google Voice, you may want to check out the free version of any paid apps, as performance can vary from handset to handset.
I am and have been trying to set up voicemail for my iPhone 11 purchased at the Waycross store. This is not working for me. I got to the screen where I put in my password and where I was to set up a greeting. There were no instructions past that. I recorded a message but never heard a beep or confirmation that my voicemail greeting was complete. I have tried several time in succession to try and play the message but nothing happens. i just have greeting in the top left and when i record it and save it does not offer a voicemail message for a caller when someone calls
You can change your voicemail settings from the Skype for Business Settings page. You can get to the page by using one of the following methods:
You can’t call someone back if you don’t have their number. It seems basic, but it’s easy to forget. So a quick reminder can go a long way.
how to setup voicemail on iphone optus
how to set up voicemail on iphone xr t mobile
att set up voicemail iphone 12
how to set up voicemail iphone 6
It seems foolish to buy more hardware to record from the iPhone—the most advanced hardware in your pocket, if not your entire home. But the option exists.
His main writing topics include iPhones, Microsoft Office, Google Apps, Android, and Photoshop, but he has also written about many other tech topics as well.
Thank you for calling ABC Company. We are currently closed for the holiday. Our normal business hours are 8 am to 8 pm, eastern time, Monday through Friday. Your call is very important to us. Please leave your name, phone number, and a brief message regarding your call. We will return your call on our next business day. Thank you.
If you’re looking for funny voicemail messages to leave on your answering machine or cell phone, then here are some of the best examples to try. We had a contest to find the most hilarious voicemail messages to make us laugh and thought you might want to try a couple out yourself. Brought to you by Best Answering Service.
As mentioned above, alerting callers that they won’t be getting an immediate call back is of upmost importance for an entity’s reputation and a caller’s satisfaction.
Our phone does not leave any type of a prompt on the main screen when there is a new voice mail waiting. Is there some way to turn this feature on?
how to setup my voicemail on my iphone
how to setup voicemail on iphone se
how do i setup my voicemail on android
how to set up voicemail message on google pixel
Double press the Home button to access App Switcher.Swipe up on the Phone app to close it.Close App Switcher and select the Phone app again.What to do if your voicemail won’t delete on your iPhone
Apple expert and novelist, Michael Grothaus has been covering tech on KnowYourMobile for the best part of 10 years. Prior to this, he worked at Apple. And before that, he was a film journalist. Michael is a published author; his book Epiphany Jones was voted as one of the best novels about Hollywood by Entertainment Weekly. Michael is also a writer at other publications including VICE and Fast Company. Facebook Twitter LinkedIn Mix Reddit WhatsApp Flipboard Pinterest More
Home Reviews Apple iOS 14.8 Problems: 5 Things You Need to Know Should I Wait for the 2020 MacBook Pro? Things the Apple Watch Can Do How to Hide iPhone Location iPhone 12 Problems: 5 Things You Need to Know 10 Common iPhone 12 Problems & How to Fix Them Android How To Auto Gaming Best Offline Games Editor’s Choice About
Unlimited recording is free with Rev's service, there's unlimited storage, and you can share the recording all you want. It only charges for transcriptions (it's $1 per minute but offers top-notch accuracy, according to our review). The Rev Call Recorder app, only on iOS, is free. Don't confuse it with the Rev Voice Recorder mentioned above (also free, for iOS and Android), which is for recording in-person conversations.
Phone → Voicemail → Greeting → Custom → Record → Save. So far you probably had a generic voicemail greeting on your iPhone and want to change it to a personal voicemail greeting and with most carriers you don’t even need an additional voicemail recording app and can record a custom voicemail greeting directly on iPhone. Record
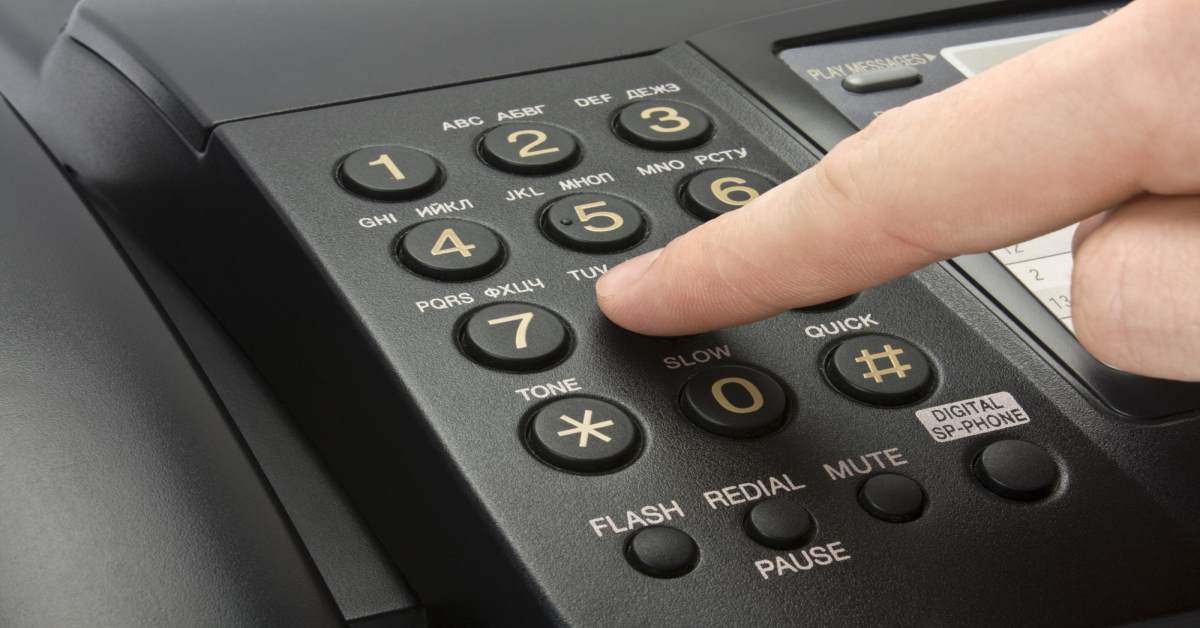
2. Try calling your voicemail directly. Open Phone → Make sure you are on Keypad → Press and hold the number 1 for a few seconds. It will call your voicemail; You can check your voicemails here.